MQTT setup
MQTT is a lightweight and simple publish-subscribe messaging protocol, ideal for IOT devices. esp32m makes use of MQTT for many purposes, such as:
- feeding sensor readings into external time-series databases;
- remote logging;
- controlling ESP32 remotely via MQTT API. The size of MQTT client in the compiled binary is pretty small (about 50KB), so it is a good idea to include it in your application.
Server setup
We use Mosquitto server, but it is possible to use any other that follows MQTT protocol. Mosquitto requires zero configuration and works with esp32m out-of-the-box.
Client setup
Add the following code to your main.cpp to enable MQTT API:
#include <esp32m/net/mqtt.hpp>
#include <esp32m/ui/mqtt.hpp>

...

net::useMqtt();

// If you also want to enable UI for MQTT
new Ui(&ui::Mqtt::instance());
In the UI:
import { startUi, Mqtt } from "esp32m/ui";

startUi({ plugins: [Mqtt] });
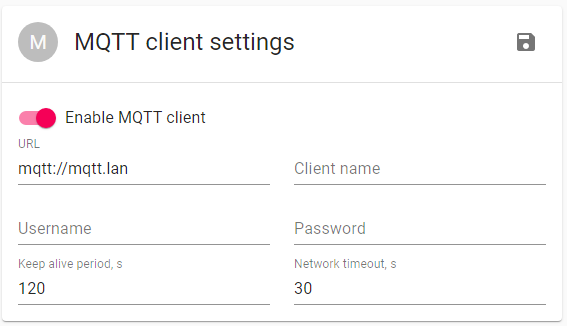
By default, MQTT client module looks for mqtt.lan name on your local network. You can just add this name to the /etc/hosts file on the machine with the MQTT server, or add static name to your local DNS. Alternatively, you can pass URL of your MQTT server to the net::useMqtt(); command, it would be something like mqtt://192.168.0.10. Another option is to configure MQTT client from within the esp32m UI: click on the MQTT Client link in the sidebar menu, enter the details and click Save button:
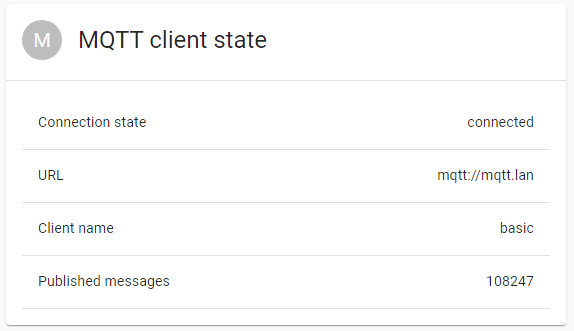
if the connection succeeds, you should see the following box in a couple of seconds: